
An outdoor baby swing: what should you look for?
Looking for an outdoor baby swing? Discover what to look for in terms of age, comfort, stable placement, maintenance and grow-with-you options in the garden.
Stocktake week 📦 Orders will ship from Monday 26 October!
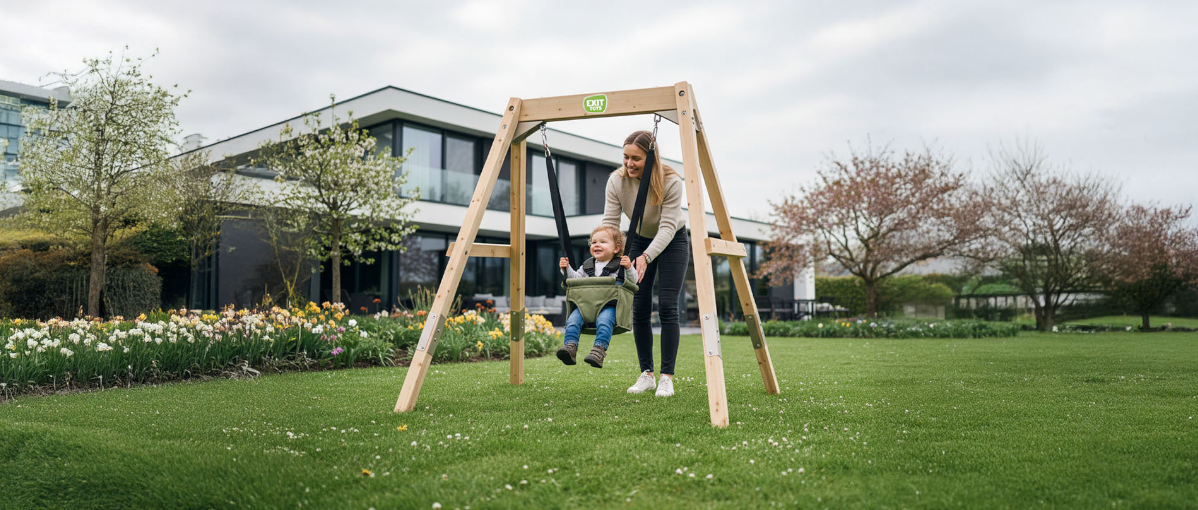
This blog takes you through assembling and anchoring an EXIT Toys garden swing step by step, from choosing a spot in your garden to the final check. Each swing comes with its own manual, which you should always follow. Each step explains the differences between the wooden Linea and Silvi swings and the metal Ivy.
Box open, grass under your feet, keen to get building. Assembling a swing set kit is a great job to tackle together. You measure, dig, screw and adjust, and by the end the seats are ready for the first round of swooping, swinging and soaring.
Below you’ll find a step-by-step guide to assembling and anchoring an EXIT Toys garden swing. The order differs from model to model, so your swing’s manual always has the final say. Where the Silvi and the Ivy differ, we point it out.
You need at least two people to build a swing. The posts and the top beam are long and heavy, and when you’re adjusting things, you want someone holding the frame straight while you measure. Our user manuals assume the swing is assembled by adults.
Allow a few hours for assembly. Each swing’s product page lists the average assembly time with two people. On top of that, plan in time for digging the holes and for the concrete to set. A dry day with little wind makes the job a lot more pleasant.
Read the manual all the way through before you pick up the first bolt. That way you’ll see the order you work in and which parts belong together. If you’ve lost the manual, you can download it from your swing’s product page. Sometimes there’s an assembly video too: the manual for the EXIT Ivy swing set has a QR code that takes you to it.
A good spot for a swing starts with the space around it, not with the frame. The seats swing a fair way back and forth, and children run around the swing too. So keep these points in mind:
Next, the surface underneath. Choose a surface that suits the specified fall height and installation instructions of your play equipment. Always check the manual for this. Materials used as impact-absorbing surfaces include wood chips and safety tiles, for example, but the required type and layer depth are given in the manual. Grass is not automatically impact-absorbing, and hard surfaces such as paving slabs and concrete are not.
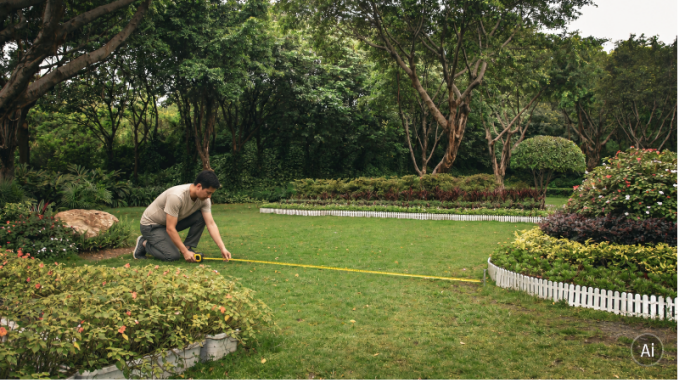
Handy tip: the product pages for the Silvi and Ivy swings, among others, have a dimension drawing to download. Mark out the outer dimensions beforehand with string or a garden hose, and you’ll see straight away how much space the swing takes up. On the Silvi and the Ivy, the legs angle outwards. Include the full footprint when you measure up.
Nipping out to the DIY store halfway through is a waste of your build day. So check in advance what you need to have at home. You’ll come across these tools in the manuals:
Small tools for the bolts are sometimes already in the box. The Silvi and the Ivy, for example, come with a small set among the parts. Check your swing’s parts list for this.
You buy the concrete for setting the ground anchors yourself. Get a tub or bucket and some water for mixing it as well. How much concrete you need varies a lot from swing to swing:
If you have a different swing or version, you’ll find the right amount of concrete and any extra materials in the manual.

Lay all the parts out on a sheet or on the grass and sort them by number. At the front of the manual, you’ll find a parts list with numbers and quantities. Count everything before you start, including the small bolts, nuts and washers. That way, the job won’t grind to a halt halfway through.
If a part is missing, get in touch with the shop where you bought the swing. To find out how to order a single part from EXIT Toys, read our blog on ordering spare parts.
Children will want to watch, of course. Just keep the youngest ones away from the small parts. Let them unpack the swing seats instead: that way they already know where they’ll soon be sitting.
This is where the EXIT swings differ most. With one, you build the frame first and dig afterwards. With the other, the anchors are already in the concrete before the frame goes on. So always follow the order in your manual, and only fully tighten bolts and screws when the manual tells you to. Broadly speaking, this is how it works.
The EXIT Silvi wooden swing set has a cypress wood A-frame. You assemble that frame on the ground: top beam, angled legs and connectors. Then the two of you stand it upright. Only then do you mark where the four anchors go, dig the holes and pour the concrete.
The EXIT Silvi wooden swing that grows with you has a low baby setting that can also stand indoors. If you set it up in the junior setting in the garden, you anchor it with concrete, just like the Silvi swing set.
With the EXIT Ivy swing set, you reverse the order. First you dig four holes and position the anchors in the layout shown in the manual. Next, measure the two diagonals: if they’re the same length, everything is square. Also keep an eye on how deep the anchors sit, because the manual shows exactly how it should be. After that, you pour the concrete and build the galvanised, powder-coated frame onto the anchors.
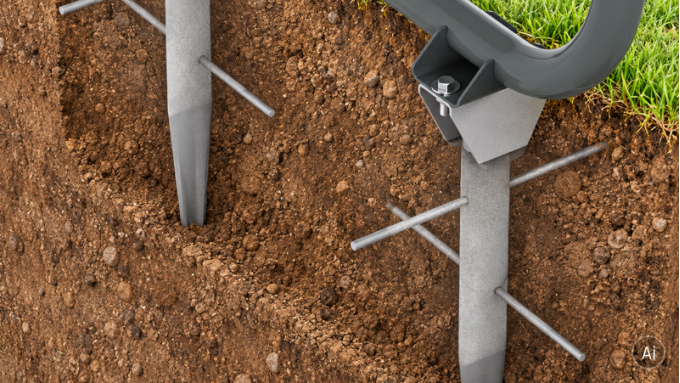
In this example, you can see how a GetSet playset with swing is anchored below ground for stable play.
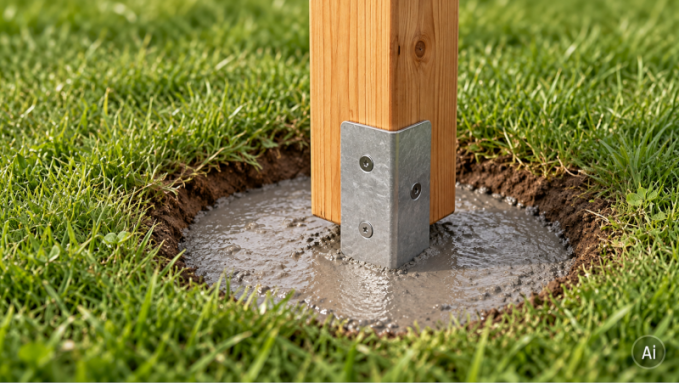
Frame or anchors in the right place and level? Then it’s time for the concrete. Mix it following the instructions on the packaging and fill the holes as shown in the manual. Then check once more with the spirit level while the concrete is still wet.
Now comes the waiting. The packaging tells you how long the concrete needs to set. Only let the children swing once the concrete has fully hardened.
Why all that concrete? Swinging puts quite a bit of force on the frame. The user manual is clear about this: anchor the swing with the anchors supplied and follow the steps in the manual, because equipment that isn’t secured can tip over. You can read more about the how and why in our blog How do you safely anchor a swing or play equipment in the garden?
Now for the best bit: on go the seats. Hang them from the swing hooks as shown in the manual, and pay close attention to the height. For the Silvi swings, there must always be more than 13.78 in between the seat and the ground. Check the correct measurement for your swing in the manual.
On the Silvi and the Ivy, the seats are height-adjustable. That way, you can set them to suit your child and adjust them later as they grow.
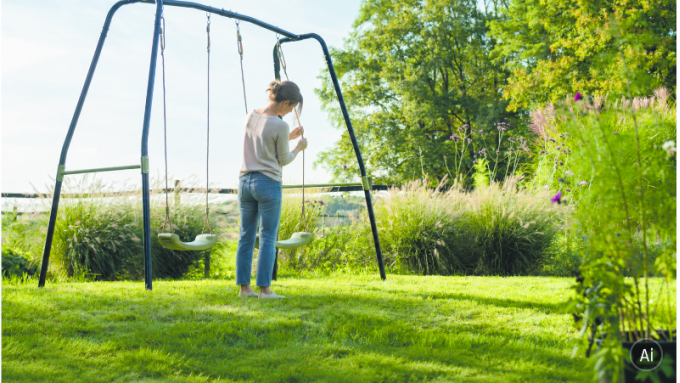
Before the first swinger climbs on, go over everything one last time:
After that, check the swing regularly. The user manual recommends inspecting it before every use, tightening any loose fixings and replacing worn parts. The start of the outdoor season is a good time for a thorough check. Children should always swing under adult supervision, as the manual also points out.
All good? Then it’s time for the first swing session. Who gets to go first?
According to the product pages, two people need around two hours on average for the EXIT Silvi wooden swing set. For the EXIT Ivy swing set, it’s an hour and a half. On top of that, allow time for digging and for the concrete to set.
The EXIT swings in this blog come with ground anchors that you set in concrete. Stick to the method in the manual. The anchoring helps keep the swing firmly in place, even when the swinging gets enthusiastic.
Follow the maintenance advice in your swing’s manual. If you leave the Silvi’s cypress wood untreated, sun and rain can change its colour. That’s just what wood does.
Yes, you can. The Silvi and Ivy swings can be fully dismantled. In the new spot, anchor the swing again following the manual.
The Silvi has a cypress wood A-frame, and the Ivy has a metal frame with a gym bar on each side. Take a look at the wooden swings and Ivy play sets, or first read which playground equipment suits your garden and your child’s age.


Looking for an outdoor baby swing? Discover what to look for in terms of age, comfort, stable placement, maintenance and grow-with-you options in the garden.

Installing a swing or play equipment? Read what to look out for when choosing the spot, surface, anchoring and checks for a sturdy play area in the garden.

Swinging is a timeless play classic. Everyone can do it, it keeps you active, and it’s perfect for almost any age. Back and forth, the wind in your hair, and those butterflies in your tummy as you dare to go higher and higher. With the speed and the changing rhythm, swinging never gets old!

Our website uses cookies. We use functional, analytical, and tracking cookies to analyze traffic on our website and personalize content. This allows us to improve the user experience on the website.
By clicking 'Customize', you can learn more about the specific types of cookies and customize your preferences. By clicking 'Allow all cookies', you agree to the use of all cookies. You can find more information in our cookie policy.
For more information on how Google will use your personal data, please refer to Google's Privacy & Terms.
Stay informed about interesting offers and news!